How to search and filter in PIM
Searching and subsequently filter the search result plays a crucial role in managing and navigating large product catalogs. You can perform a search using the search bar located on the PLP (Product List Page).

Once the search results are displayed, they can be refined using either basic or advanced filters. These filters can be saved with a specific name, and optionally including the settings for what columns to display on the PLP, and later utilized in various features, such as dashboards and mass editing.
Tip
Note that an attribute might not be included in the search result - make sure to set the Attribute Importance on the attribute configuration page.
Tip
You can control what columns to include in the PLP. These columns are used in features like mass edit.
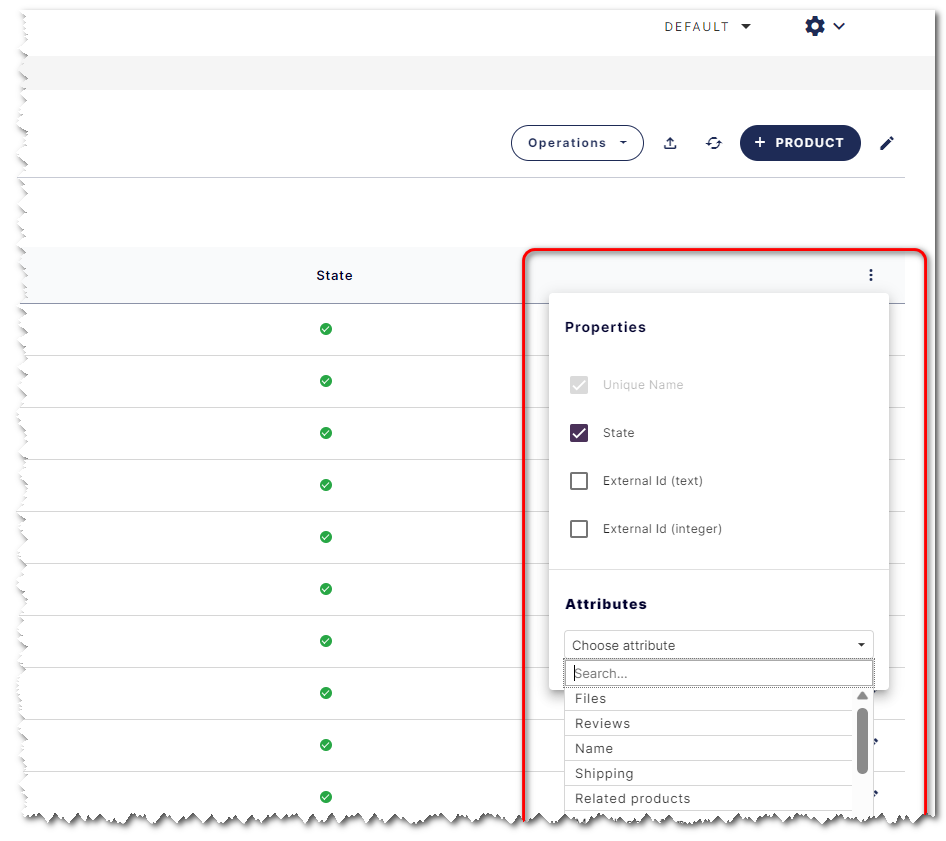
For more information about searching see Search & filters.
Basic filter
Here is a step-by-step guide for creating and saving a basic filter. In this example we are creating and saving a filter containing all red products with no variants (SKUs only).
Follow these steps:
- Click on Products in the top bar to navigate to the PLP
- Click on Basic filters
- Create criteria and select "Has variants" and Has no variants
- Click the + sign to add a new criteria
- Click on Color and select the color red
- Click the save icon, enter a name and click save
For more information about filters see our concept article and Basic filters.
Advanced filters
Advanced filters offer enhanced functionality by allowing the use of both AND and OR operators in filtering. You can learn more about advanced filters here.
Below is a step-by-step guide to creating and saving an advanced filter. In this example, we'll demonstrate how to create a filter that includes all red or white products from a specific brand, ensuring that the result set contains SKUs only.
Follow these steps:
- Click on Products in the top bar to navigate to the PLP
- Click on Advanced filters
- Click on Group to create an OR group
- Click on filter within the new group
- Select the Color attribute and set equals to Red
- Click on Filter within the new group
- Select the Color attribute and set equals to White
- Click on Group to create an AND group
- Click on Filter within the new group
- Select the Brand attribute and set it equals to BizzkitLine
- Click on Filter within the new group
- Select Has variants and set it to Has no variant
- Click Apply filter
You can optionally save the filter.