Creating a predefined setting
Suppose we have a number of images that we want to copyright protect by adding a watermark. This can be achieved through a predefined setting.
The following example shows how to add a watermark on an image. For the watermark, we will use the following image, but any image, preferably with some transparency, can be used.

Creating a predefined setting
To create a predefined setting, perform the following steps:
- Click on the "Settings"-tab.
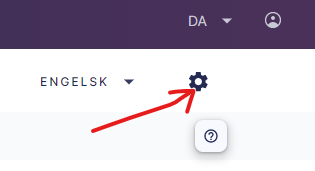
- Click on "Predefined Settings" in the left menu.
- Click on the "Create Predefined Setting"-button.

- Give it an appropriate name like "Watermark".
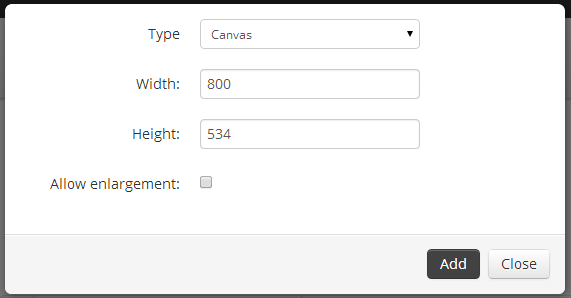
- Click on the "Add Transformation"-button.
- Add a canvas resize transformation with a size that matches our watermark image.
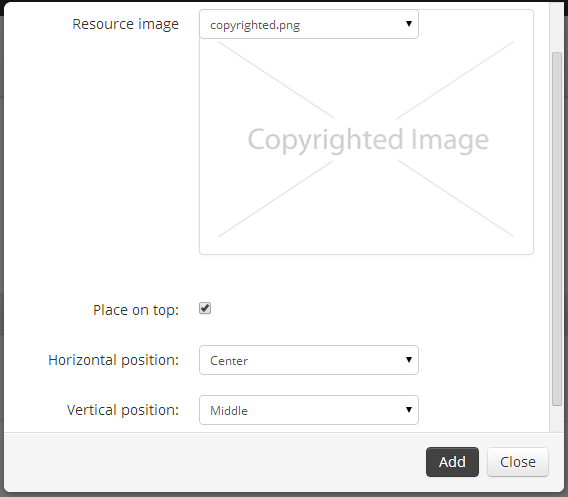
- Add a merge transformation with our resource image. This should be placed on top and in the middle of the image.
- Click on "Save".
The predefined setting has now been saved and can be applied to images to add the watermark.
For more information on creating resource images, see Creating a resource image.
Editing a predefined setting
When editing a predefined setting, you will be asked whether you want to invalidate the cached files. Choosing "yes" to this option will update the cached files that make use of the predefined setting immediately. Otherwise, the changes will only take effect after a certain amount of time (after cache time-to-live expires).