Creating an attribute or tag
Suppose we have a number of images that we would like to be able to filter during a search. To do this the images must have either a tag or attribute associated with them.
Step-by-step guide
In the following example we will create an integer attribute that denote the weight of some product measured in grams. To create such an attribute the steps below must be followed:
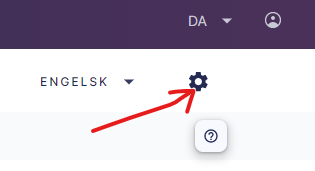
- Click on the "Settings"-tab.
- Click on "Attributes" on the left menu.
- Click on the "Create Attribute"-button.

- Fill out the values. These will be explained further below.
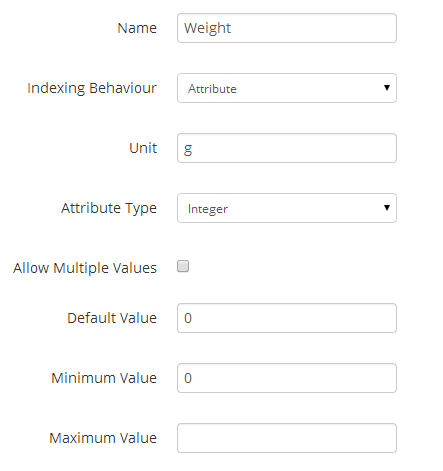
The name of the attribute is the name as it appears in DAM.
The indexing behavior specifies how the attribute acts when searching. Since the attribute specifies the weight of some product we will set the unit type to "g" for grams.
Attribute type is integer here.
"Allow Multiple Values" is unchecked since a product can only have one specified weight.
"Default Value" is set to 0. Not specifying a value for the attribute will cause a value of 0 to be chosen.
"Minimum Value" is set to 0 since negative weights are impossible. Additionally there are no upper bound for weights, so "Maximum Value" is left blank. - Click on "Save".
Specifying fixed values
If we know that the weight of our products can be specified by a small fixed set of integer values, we can add these fixed values to our attribute by following these steps:
- When creating or editing an attribute, click "Add Fixed Values".

- Type in the desired fixed value and push "enter".
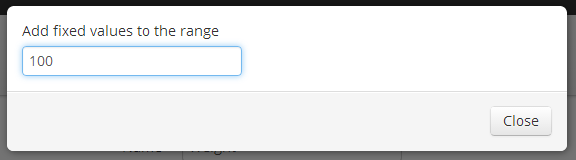
- As many values as wanted can be entered this way. Click "Close" when you are done.
- Click "Save".
When adding the attribute to an image, the value chosen must be one of the values defined in the fixed set.
Creating a tag
Tags are created by doing the following steps:
- Select an image within DAM.
- Click on the "Tags"-tab in the detail view on the right.

- Enter the desired tag name.
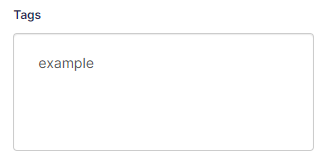
- Push "enter" and the tag has now been created.
Tags and attributes can be translated. See Creating translations for more information.