Getting Started for developers
This guide will get you started working with Bizzkit CMS.
Setup Environment
The first thing to do is set up a local Bizzkit development environment. A detailed guide for doing this can be found here.
Bizzkit Single Sign On
To work with the CMS, you need a Builder account that serves as a central place to manage organizations, spaces, users, etc. In order to authenticate with your Builder spaces the same way as you do for any of the Bizzkit applications, you need to configure SSO with your Auth/Iam in Bizzkit Commerce Cloud. For the best experience, we recommend configuring SSO in Builder at the organization level. If you have multiple Auth/Iam deployments in Bizzkit Commerce Cloud, you are free to choose either one to use for SSO. However, we recommend using your production deployment of Auth/Iam for SSO, since this has the highest availability.
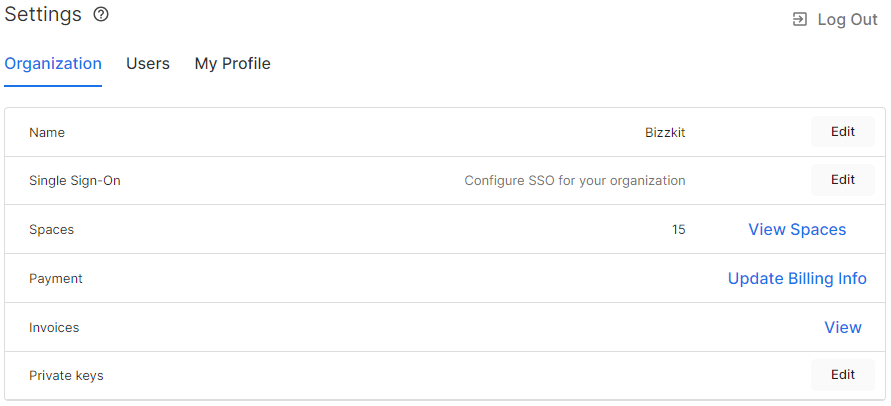
In order to configure SSO in Builder, navigate to the organization settings and click “Edit” on “Single Sign-On”:
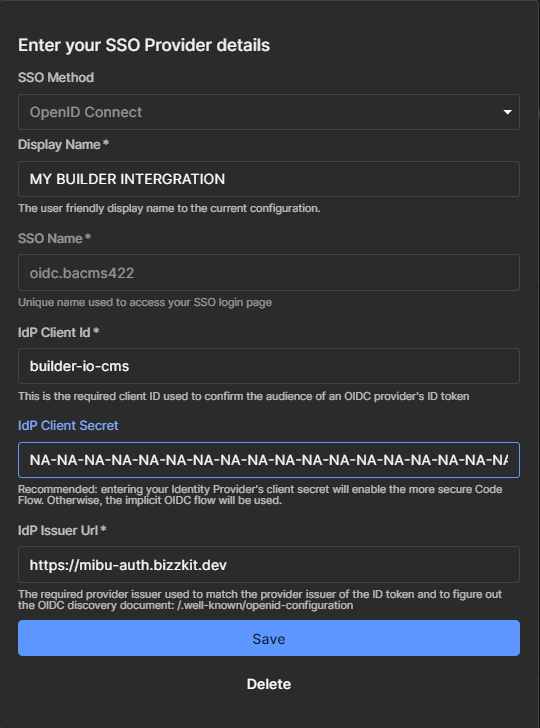
You are free to choose a display name of your liking.
However, the rest of the fields must follow the conventions below, where {CompanyName} is the name you chose when signing up for Bizzkit Commerce Cloud.
You can find your {CompanyName} in the domains used for accessing applications in Bizzkit Commerce Cloud as illustrated in the “Issuer Url” below:
- SSO Method:
OpenID Connect - SSO Name:
oidc.bizzkit-{CompanyName} - SSO Client Id:
builder-io - Issuer Url:
https://{CompanyName}-auth.bizzkit.cloud
Please reach out to you Bizzkit contact for more information on how to get you Builder account.
Bizzkit Plugins
To integrate the CMS with Bizzkit products like Ecommerce Search, PIM and DAM you need to install the Bizzkit plugins. See Plugins for more information.
Registering Plugins
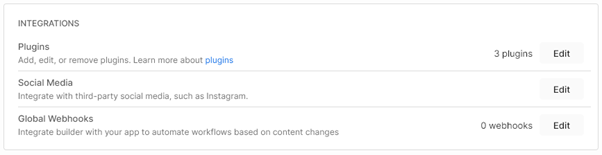
Plugins must first be registered within a space in Builder before they are available to users. This can be done by first navigating to the settings of the desired space, and then within the Integrations category, click “Edit” in Plugins:
Then insert the URLs where each of the plugins you wish to include and save:
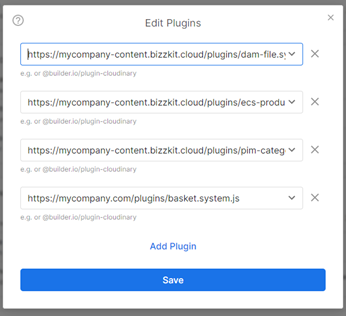
The URLs from the Bizzkit products will be as follows:
Using Plugins
The plugins offered by Bizzkit are of a kind called "Editor plugin". This means that they can be used as types for Builder model fields:
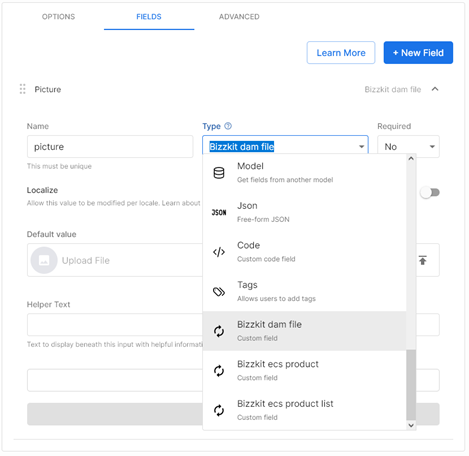
Then, while creating new content of your model, the custom field editor is display for inserting data for that field:

Using Plugins with Custom Components
Similarly to data models, editor plugins can also be used as input types in custom components:
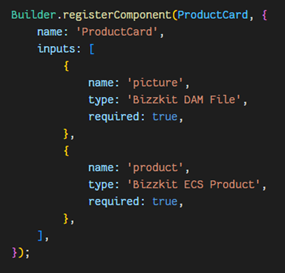
This will ensure that users can only select values provided by the plugin integration, while also providing an easy-to-use interface.
Reference
The plugins will require a type name and return a payload as follows:
DAM
Type: Bizzkit DAM File
Payload:
ECS Product
Type: Bizzkit ECS Product
Payload:
ECS Product List
Type: Bizzkit ECS Product List
Payload:
PIM Product Category
Type: Bizzkit PIM Product Category
Payload:
Bizzkit Components
All Bizzkit components are based on React and TypeScript and integrated in Bizzkit Blueprint. Signed customers and Bizzkit solution partners can get access to the codebase and use the components as is or change them in anyway needed.
Please contact your Bizzkit contact for more information.
Page designer and website authentication
In some cases, the webpage used for previewing and editing content within Builder is behind authentication, which might not work out of the box due to restrictions related to iframes. In such cases, it's recommended setting up authentication using "popup mode", which is not bound to the same restrictions as iframes. An example can be seen here using the oidc-client-ts library.
Furthermore, it's necessary to enable form submission for all Builder page and section models, so the login forms can be properly submitted. This can be done by navigating to the settings for a given model, and then toggling "Enable Preview Iframe form submission" on in the "Advanced" tab.